
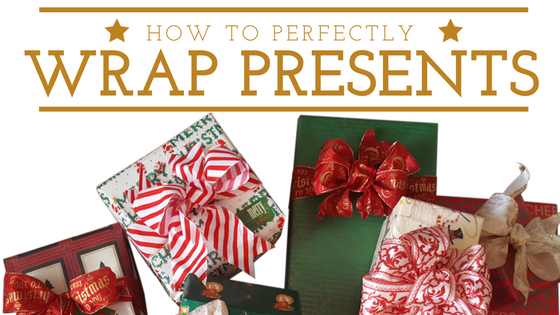
How to Perfectly Wrap Presents this Year
It’s that time of year again, the time of year when you are buying gifts for your loved ones. But then, there’s the wrapping.
When I was a child, my mother instilled in me the importance of wrapping presents beautifully. She said that by wrapping something well, you were showing that you cared about the receiver of your gift.
For years I frustratedly learned the art of wrapping the perfect package, all the while wishing that I could just wrap the gifts quickly and throw on a pre-made bow or (gasp!) put a present in a gift bag like my father and brother often did. But now that I am grown I find myself appreciating the knowledge that my mother passed down to me. These days I feel that well-wrapped presents under the tree are accents that are just as important as all of the other decorations around my home.

My home at Christmastime.
So today I will share my knowledge with you and teach you the art of wrapping the perfect present and, even more importantly, the elusive perfect bow!
Let’s start with wrapping the gift.
You will need your gift in a box, wrapping paper, a pair of scissors, tape and ribbon.
 Unroll your wrapping paper and set your gift on top of the unrolled paper. There is a trick for cutting the perfect amount of paper. Roll your box across the paper 4 times (one time for each side of the box). This will give you the perfect amount of paper for the front and back side of your package. For the sides, make sure you have about 3/4 of the height of the package worth of paper on each side of the square.
Cut your paper to the correct size. Once you have your paper ready, turn your package upside down so the back of the package is facing up. 
Fold over the edge of your wrapping paper that will be on top when wrapping to make sure that you have a clean edge showing instead of your ragged cut edge. Fold the paper and hold together with a piece of tape.
 Now for the sides. The trick is to crease all of your edges (I use the back of my fingernail against the ground and corners of the box). First, fold down the top and crease the sides. Then repeat the same on the sides and then the bottom. Fold the bottom up and secure with a piece of tape (or two).
Now you are ready for your bow!
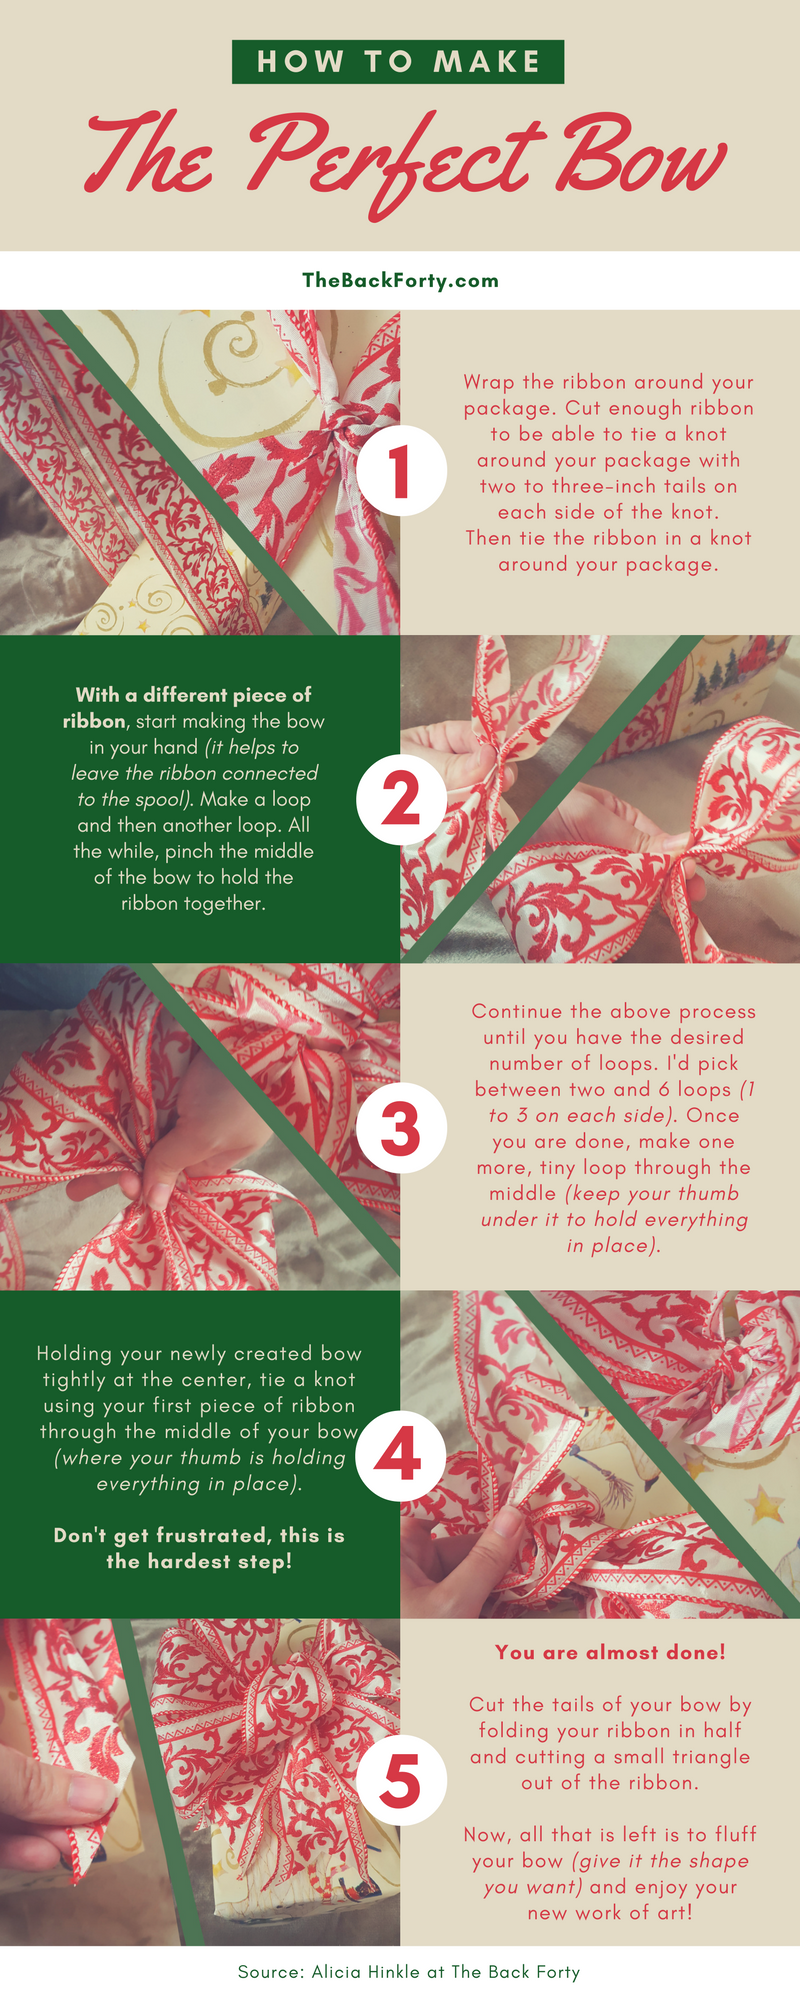
The bow is a bit more complicated so I created the below infographic for your convenience. Grab your ribbon and let’s get started!
 At this point, you should have a beautifully wrapped package to give to a loved one. It might have taken a few tries but it will all be worth it when your loved one says “Wow! Did you wrap this?”
Congratulations!
